Sump - removal and refitting
Note: New gaskets and sealing strips must be used on refitting.
Removal
1 Disconnect the battery negative lead.
2 Drain the engine oil.
3 Remove the starter motor as described in Chapter 5, Part A.
4 Apply the handbrake, jack up the front of the car and support it on stands (see “Jacking and Vehicle Support”).
5 Unbolt and remove the cover plate from the clutch housing (see illustration).
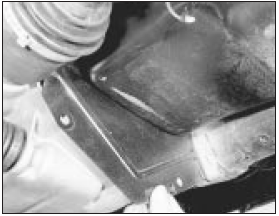
8.5 Remove the clutch housing cover plate
6 Unbolt and remove the engine splash shield at the crankshaft pulley end (see illustration).
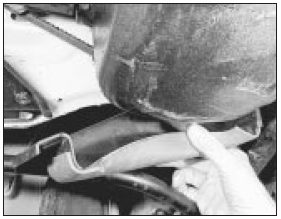
8.6 And the right-hand engine splash shield
7 Unscrew the sump securing bolts progressively and remove them.
8 Remove the sump and peel away the gaskets and sealing strips.
Refitting
9 Make sure that the mating surfaces of the
sump and block are clean, then fit new end
sealing strips into their grooves and stick new
side gaskets into position using thick grease.
The ends of the side gaskets should overlap the seals. On later models a one-piece sump gasket is used. Before fitting, apply sealer to the joints of the cylinder block and rear oil seal carrier, and cylinder block and oil pump housing (four locations). Without applying any further sealer, locate the gasket into the grooves of the oil seal carrier and oil pump housing (see illustrations). To retain the gasket insert two or three studs into the cylinder block if necessary and remove them once the sump is in place.
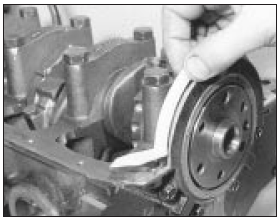
8.9a Fitting the sump sealing strips . . .
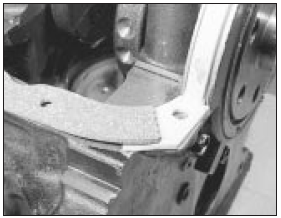
8.9b . . . followed by the side gaskets with their ends overlapped
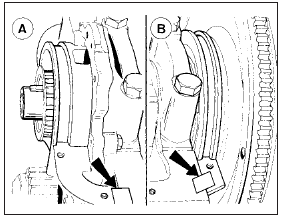
8.9c Apply sealer to the areas shown when fitting a one piece sump gasket
A Oil pump housing-to-block joint B Rear oil seal carrier-to-block joint
10 Offer up the sump, taking care not to displace the gaskets and insert the securing bolts. Tighten the bolts in two stages to the final torque given in the Specifications.
11 Refit the cover plate to the clutch housing and refit the engine splash shield.
12 Refit the starter motor.
13 Fill the engine with oil and reconnect the battery.
See also:
Specifications
Torque wrench setting Nm lbf ft
All seat belt anchor bolts . . . . . . . . . . . . . . . . . . . . . . . . . . .
. . . . . . . . . 29 to 41 21 to 30 ...
Engine/transmission - reconnection and installation
1 This is a direct reversal of removal and
separation from the transmission. Take care
not to damage the radiator or front wings
during installation.
Reconnection
2 Make sure that the engine adap ...
Instrument panel - removal and refitting
Pre-1986 models
Removal
1 Disconnect the battery negative terminal.
2 Extract the screws and pull the instrument
panel bezel from the panel. The two clips at
the base of the bezel will release by ...
