Exterior lamps - removal and refitting
Headlamp
Removal
1 On pre-1986 models, remove the radiator
grille as described in Chapter 11.
2 Working in the engine compartment, disconnect the headlamp wiring multi-plug and remove the sidelamp bulbholder.
3 Rotate the side and upper plastic retaining clip heads through 90° to release the headlamp mountings (see illustrations).
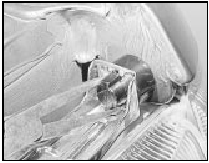
7.3a Releasing the headlamp side plastic retaining clip head
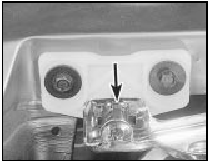
7.3b Headlamp upper plastic retaining clip head (arrowed)
4 With the headlamp unit released, pull it sharply forward off its lower ballstud.
Refitting
5 Refitting is a reversal of removal.
Front direction indicator lamp
Removal
6 Working inside the engine compartment
disconnect the indicator bulb holder from the
lamp.
7 Remove the headlamp as described above.
8 Remove the headlamp upper plastic retaining clip then unscrew the ball-headed bolt (see illustrations).
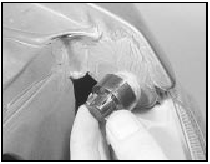
7.8a Removing the retaining clip . . .
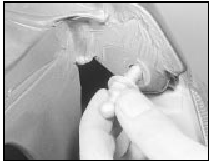
7.8b . . . and the ball-headed bolt
9 Remove the lower adjuster by turning the collar (see illustrations).
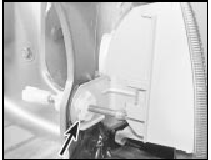
7.9a Release the adjuster by turning the collar (arrowed)
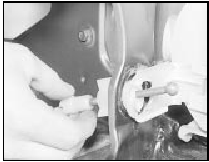
7.9b . . . then remove the adjuster
10 Release the side spring clip, then pull the lamp out at the bottom to disengage the upper tangs (see illustration).
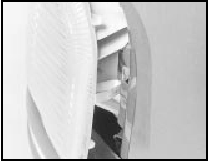
7.10 Release the direction indicator side spring clip
Refitting 11 Refitting is a reversal of removal.
Rear lamp
Removal
12 Remove the bulbholder(s) as described in
Section 5.
13 Remove the lamp retaining screws or nuts as applicable, and remove the lamp.
Refitting
14 Refitting is a reversal of removal.
See also:
Rear disc caliper - removal, overhaul and refitting
Note: Complete dismantling of the rear caliper
should not be attempted unless Ford spring
compressor (tool No 12-007) is available, or
unless the problems likely to arise in the
absence of the too ...
Automatic transmission brake band adjustment (Every 24 000 miles (40 000 km)
or 2 years)
Note: A brake band torque wrench - Ford tool
No 17-005, or a conventional torque wrench
and a splined socket of suitable size to fit the
square section head of the adjuster screw(s)
will be requir ...
Automatic transmission operation (if equipped)
Brake-shift interlock
This vehicle is equipped with a brake-shift interlock feature that prevents
the gearshift lever from being moved from P (Park) unless the brake pedal is
depressed. If you can ...
