Bonnet - removal and refitting
Removal
1 Support the bonnet in its open position,
and place protective covers (old rags or
cardboard) beneath the corners of the bonnet,
and over the front wings to prevent damage to
the paintwork.
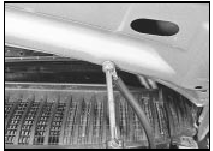
2 Remove the screw and disconnect the earth strap from the rear left-hand edge of the bonnet (see illustration). Where applicable, disconnect the wiring from the underbonnet lamp.

6.2 Remove the screw and disconnect the bonnet earth cable
3 Mark the location of the hinges on the sides of the bonnet with a soft pencil or masking tape, then loosen the four hinge bolts.
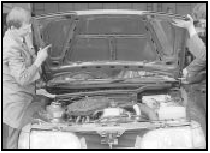
4 With the help of an assistant, remove the bolts and lift the bonnet from the vehicle (see illustration).

6.4 Lifting the bonnet from the vehicle
5 If required, the underbonnet insulation can be removed by prising out the two-piece plastic securing clips.
Refitting
6 Refitting is a reversal of removal, bearing in
mind the following points.
7 Adjust the hinges to their original marked positions before tightening the bolts.
8 On completion, check that the bonnet is central within its aperture and aligned with the surrounding bodywork. Re-adjust the hinges to give satisfactory alignment if necessary.
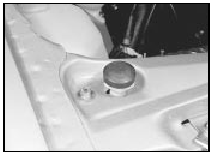
9 Check that the bonnet lock striker engages fully in the lock, and if necessary adjust the position of the lock striker and/or the height of the bonnet rubber bump stops (see illustration).

6.9 Adjustable bonnet rubber bump stop
See also:
Engine - removal leaving automatic transmission in vehicle
Note: A suitable hoist and lifting tackle will be
required for this operation.
1 Proceed as described in Section 8,
paragraphs 1 to 15 inclusive. Additionally, if
applicable disconnect the kickdow ...
Brake fluid pipes and hoses - removal and refitting
Caution: Refer to the
precautions in Section 1.
Removal
1 To remove a flexible hose, always free it
from any mounting bracket(s) first by prising
out the U-shaped retaining clip, and then
using ...
Instrument panel components - removal and refitting
1 Remove the instrument panel.
Panel illumination and warning
lamp bulbs
2 Twist the relevant bulbholder anticlockwise
and withdraw it from the printed
circuit board on the rear of the instrument ...
